
创建SpringBoot+Mybatis+MySQL项目
1 环境准备
JDK:JDK 17
IDEA:IntelliJ IDEA 2021.1.1 专业版
系统:Windows
2 创建项目
打开IDEA,点击【新建项目】

如果IDEA已经打开了其他项目,可以点击文件->新建->项目来创建项目。

3 项目环境配置
左侧选择Spring Initializr,右侧对项目一些属性进行配置。
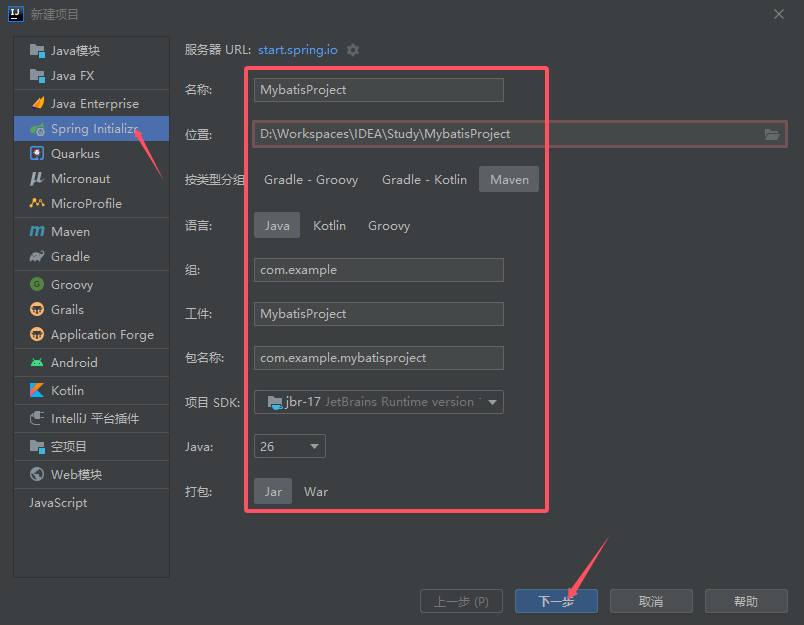
- 名称:项目的名字,这里取名MybatisProject。
- 位置:项目的存储位置,自己选一个位置存放。
- 按类型分组:这里选择Maven
- 语言:选择Java
- 组:组织名,自己定义。
- 工件:工件名,和项目名一致即可。
- 包名称:代码的包名,自己定义。
- 项目SDK:选择默认版本,或者根据自己的开发环境选择对应的版本。
- Java:选择默认版本,或者根据自己的开发环境选择对应的版本。
- 打包:打包手的文件格式,这里使用默认的Jar格式。
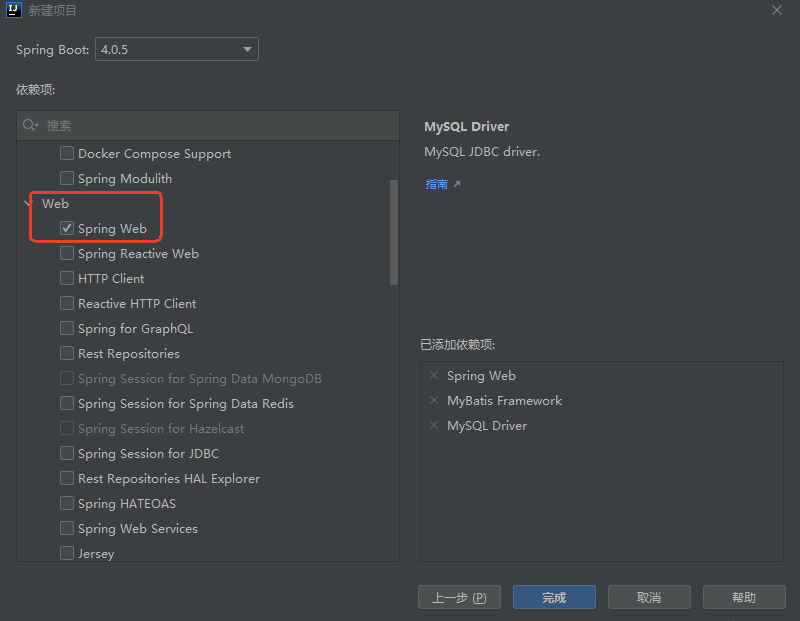
4 添加依赖项
在左侧选择Web下面的Spring Web和SQL下的Mybatis Framework及MySQL Driver,然后点击完成。

5 修改配置文件
将resources文件夹下的application.properties文件后缀名改为yml;
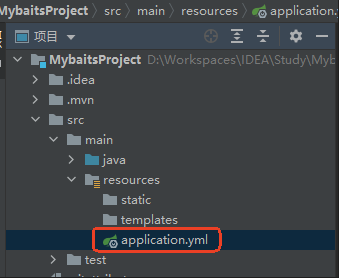
打开application.yml,编写数据库相关配置。
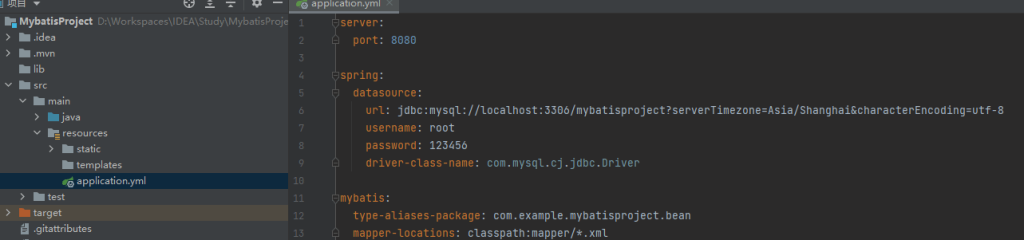
该部分代码如下(注意缩进):
server:
  port: 8080

spring:
  datasource:
    url: jdbc:mysql://localhost:3306/mybatisproject?serverTimezone=Asia/Shanghai&characterEncoding=utf-8
    username: root
    password: 123456
    driver-class-name: com.mysql.cj.jdbc.Driver

mybatis:
  type-aliases-package: com.example.mybatisproject.bean
  mapper-locations: classpath:mapper/*.xml
其中,需要注意的几个地方如下:
- 端口号:默认值为8080,如果8080端口已被占用,可以修改成其他端口。
- MySql数据库名称、用户和密码:根据自己的环境设置。
- Mybatis下的type-aliases-package:com.example.
mybatisproject.bean(bean目录,后面会创建)
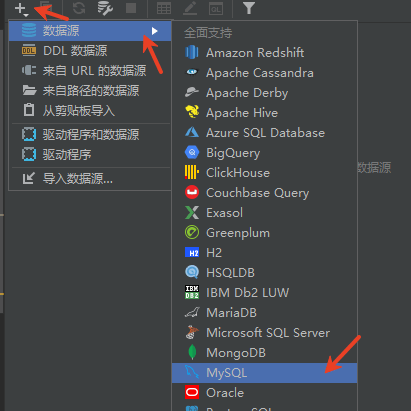
6 创建数据库
连接MySQL

执行如下SQL语句创建数据库:
— 创建数据库(如果不存在)
CREATE DATABASE IF NOT EXISTS mybatisproject DEFAULT CHARACTER SET utf8mb4 DEFAULT COLLATE utf8mb4_unicode_ci;
— 使用数据库
USE mybatisproject;
— 创建 departments 表
CREATE TABLE IF NOT EXISTS usertb (
id INT PRIMARY KEY AUTO_INCREMENT COMMENT ‘用户ID’,
name VARCHAR(100) NOT NULL COMMENT ‘姓名’,
age INT COMMENT ‘年龄’
) ENGINE=InnoDB DEFAULT CHARSET=utf8mb4 COMMENT=’用户表’;
— 插入测试数据
INSERT INTO usertb (name, age) VALUES
(‘张三’, 18),
(‘李四’, 19),
(‘王五’, 20),
(‘孙六’, 21);
7 运行项目
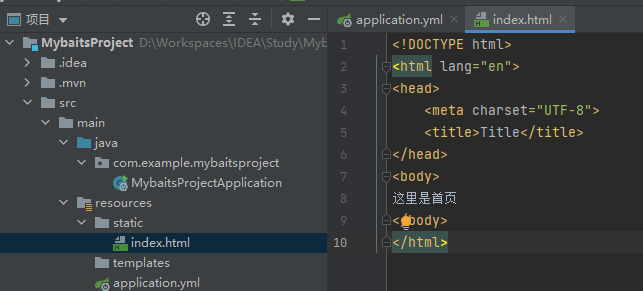
在resources的static目录下创建index.html,内容如下;
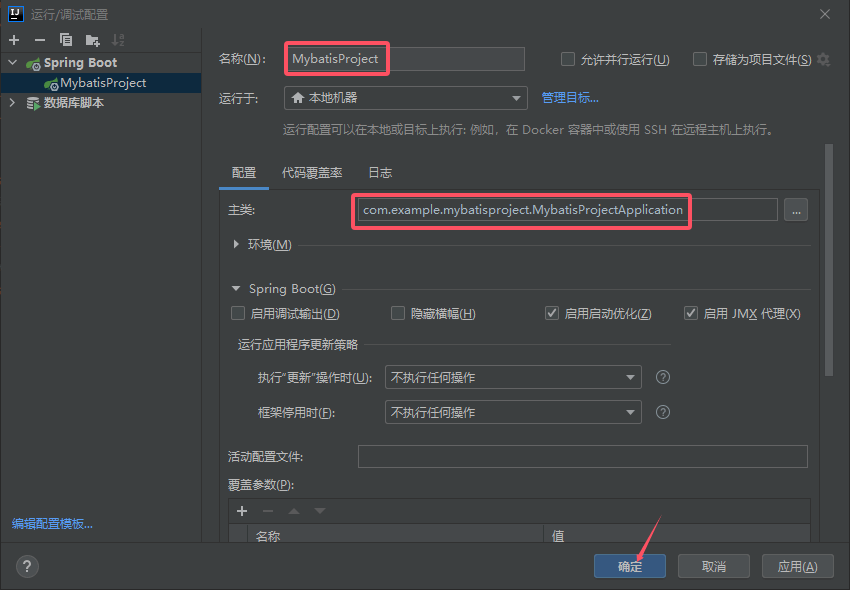
添加配置:
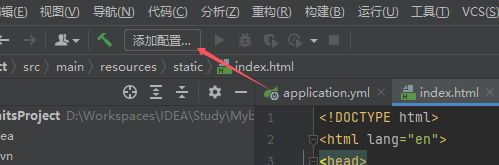
点击加号,再点击Spring Boot
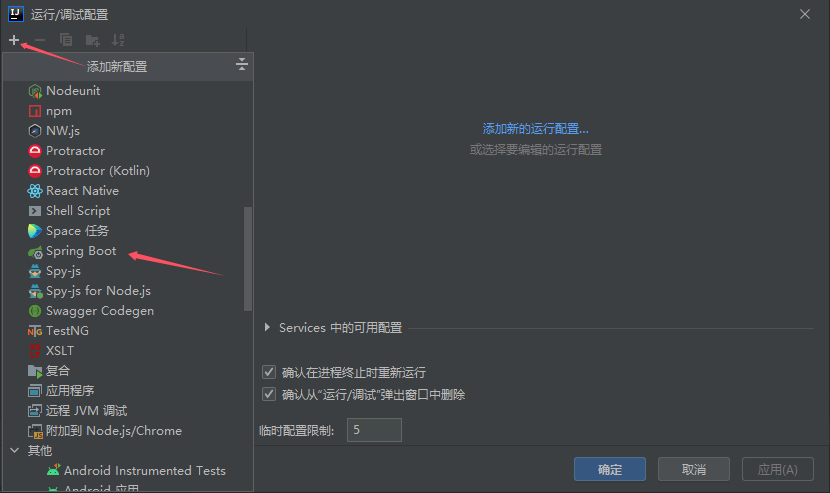
输入名称并选择主类,然后确定。
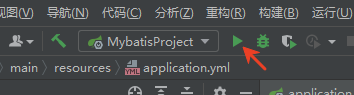
运行项目
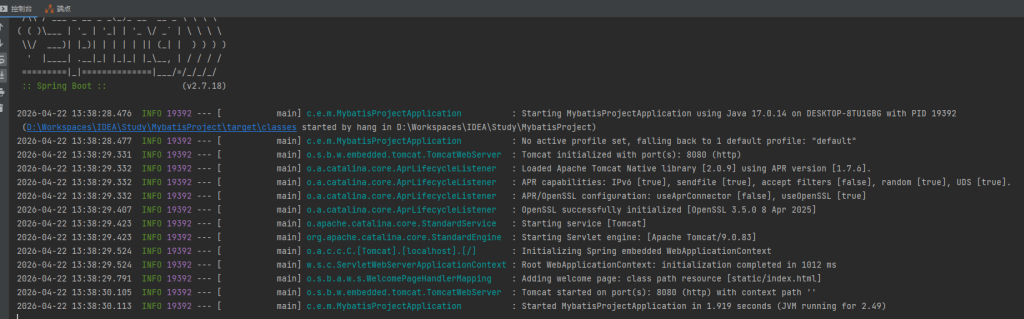
从日志可以看见项目运行成功
打开浏览器,在地址栏输入http://localhost:8080,然后回车;
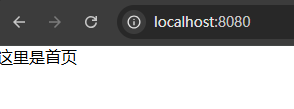
可见index.html的内容成功显示在页面上。说明项目已能够成功运行。
8 完善代码
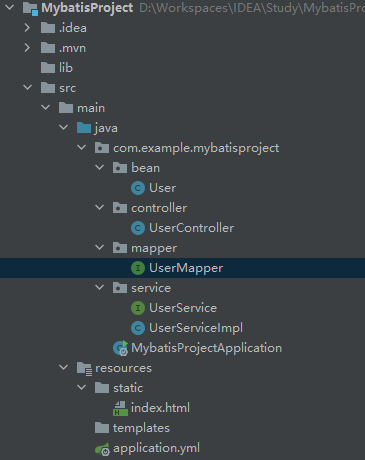
创建bean、controller、mapper、service四个目录。bean目录下创建User类、controller下创建UserController类,mapper下创建UserMappter接口,serivice下创建UserSerivce接口和UserServiceImple实现类。项目结构如下:
8.1 User类
User类中的属性与数据表中要一致。
package com.example.mybatisproject.bean;
public class User {
private String id;
private String name;
private Integer age;
public String getId() {
return id;
}
public void setId(String id) {
this.id = id;
}
public String getName() {
return name;
}
public void setName(String name) {
this.name = name;
}
public Integer getAge() {
return age;
}
public void setAge(Integer age) {
this.age = age;
}
}
8.2 UserMapper接口
创建UserMapper接口,用于查询数据。
package com.example.mybatisproject.mapper;
import com.example.mybatisproject.bean.User;
import org.apache.ibatis.annotations.Mapper;
import org.apache.ibatis.annotations.Select;
import java.util.List;
@Mapper
public interface UserMapper {
@Select({
“select”,
“id, name, age”,
“from usertb”
})
List<User> queryAll();
}
8.3 UserService接口和UserServiceImpl实现类
在service层下建立UserService接口和UserServiceImpl实现类,内容分别如下;
UserService接口:
package com.example.mybatisproject.service;
import com.example.mybatisproject.bean.User;
import java.util.List;
public interface UserService {
public List<User> getAllUsers();
}
UserServiceImpl实现类:
package com.example.mybatisproject.service;
import com.example.mybatisproject.bean.User;
import com.example.mybatisproject.mapper.UserMapper;
import org.springframework.beans.factory.annotation.Autowired;
import org.springframework.stereotype.Service;
import java.util.List;
@Service(“userService”)
public class UserServiceImpl implements UserService {
@Autowired
private UserMapper userMapper;
@Override
public List<User> getAllUsers() {
return userMapper.queryAll();
}
}
8.4 UserController类
package com.example.mybatisproject.controller;
import com.example.mybatisproject.bean.User;
import com.example.mybatisproject.service.UserService;
import io.swagger.v3.oas.annotations.tags.Tag;
import org.springframework.beans.factory.annotation.Autowired;
import org.springframework.web.bind.annotation.RequestMapping;
import org.springframework.web.bind.annotation.RequestMethod;
import org.springframework.web.bind.annotation.RestController;
import java.util.List;
@RestController
@RequestMapping(“/user”)
@Tag(name = “用户管理模块”, description = “用户的增删改查接口”)
public class UserController {
@Autowired
private UserService userService;
@RequestMapping(value = “/get-all”, method = RequestMethod.GET)
public List<User> getAll() {
List<User> list = userService.getAllUsers();
return list;
}
}
8.5 完善index.html以进行测试
对index.html的内容进行完善,用来获取用户表中的数据,内容如下:
<!DOCTYPE html>
<html lang="en">
<head>
<meta charset="UTF-8">
<title>首页</title>
<script src="https://code.jquery.com/jquery-3.1.1.min.js"></script>
<script>
function getUserInfo(){
$.ajax({
type: "get",
url: "user/get-all",
data: {
},
success:function (data) {
$("#info").empty()
for(var i = 0;i < data.length;i++){
$("#info").append(JSON.stringify(data[i]) + "<br>")
}
},
});
}
</script>
</head>
<body>
<button onclick="getUserInfo()">获取用户信息</button>
<div id="info"></div>
</body>
</html>
8.6 运行
再次运行项目,打开浏览器,输入localhost:8080。可以看见有一个“获取用户信息”按钮,点击该按钮,在页面下方得到如下结果:
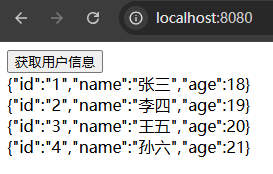
可见,用户表中的数据成功显示在此页面中。至此,简单的Spring Boot+Mybatis+MySQL项目完成。
