RabbitMQ 是一个开源的消息代理和队列服务器,用于通过轻量级消息传递协议(AMQP 0-9-1)在应用程序之间进行异步通信。RabbitMQ 是成熟、稳定、易用的消息队列,适合大多数需要异步解耦、削峰填谷的企业级应用场景。下面将介绍如何在Spring Boot中集成RabbitMQ。
步骤一:创建项目
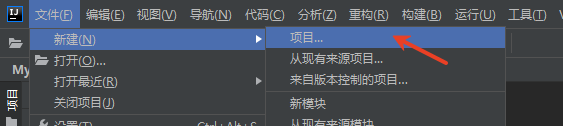
打开IDEA,点击文件->新建->项目
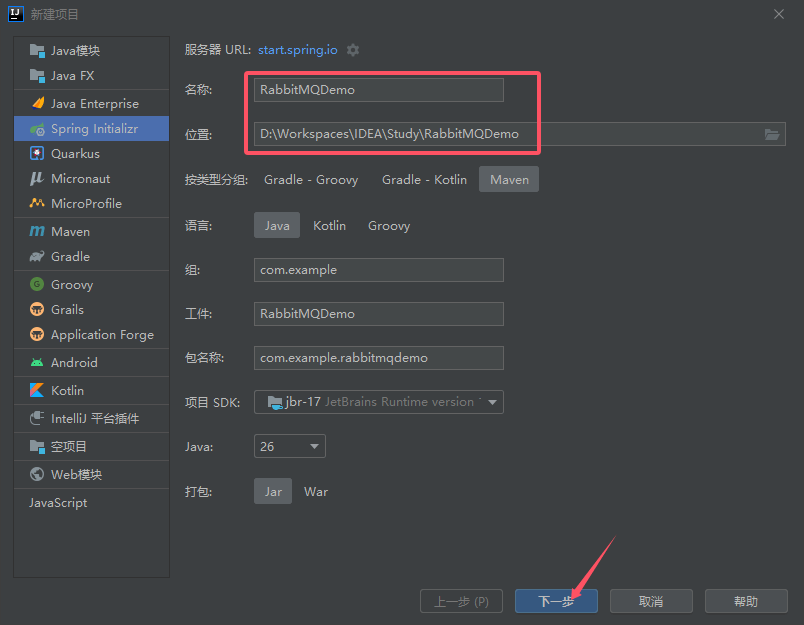
设置项目名称和保存位置,然后点击“下一步”按钮。
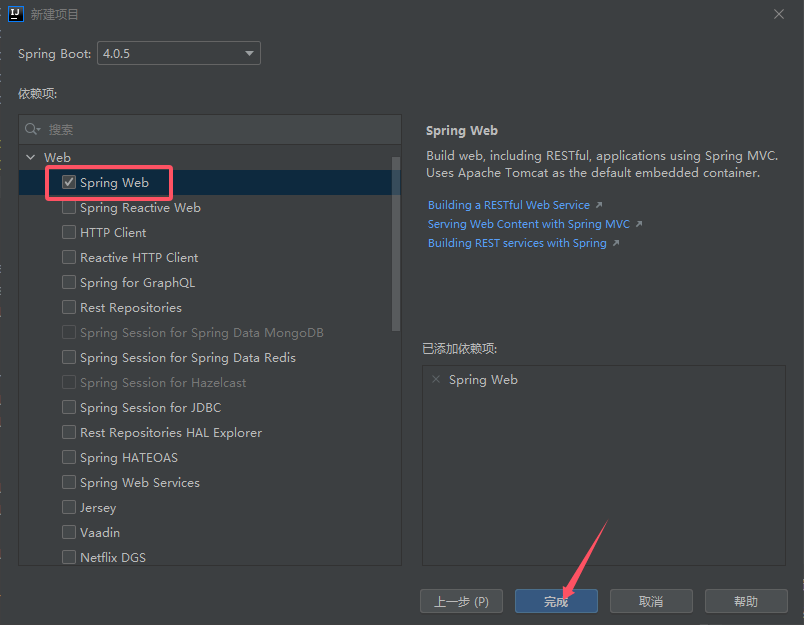
选择Web下的Spring Web,然后点击“完成”按钮。
步骤二、引入依赖及修改配置
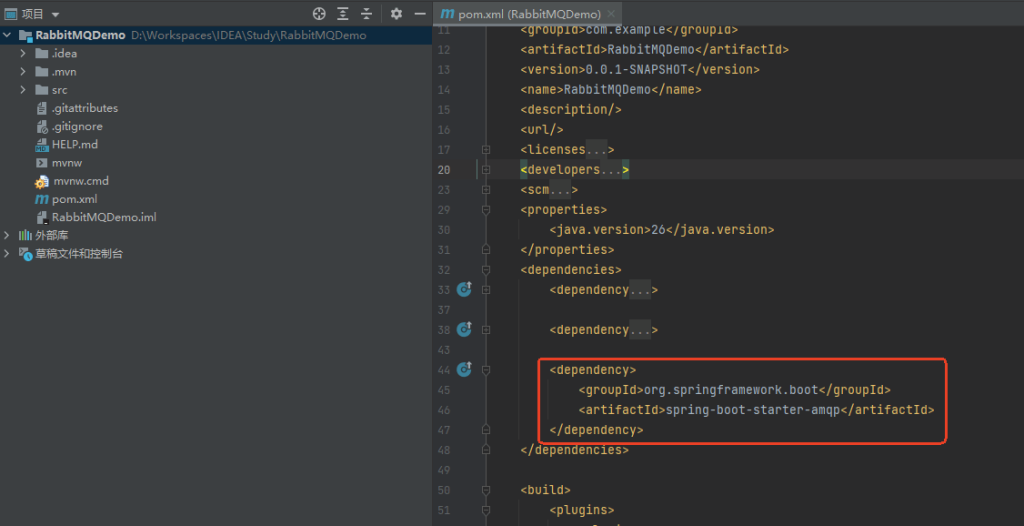
1、在pom.xml中添加 Spring Boot AMQP Starter:
<dependency>

    <groupId>org.springframework.boot</groupId>

    <artifactId>spring-boot-starter-amqp</artifactId>

</dependency>
2、修改配置文件
将application.properties改成application.yml,添加如下配置
spring:

  application:

    name: RabbitMQDemo

  rabbitmq:

    host: localhost          # RabbitMQ 服务器地址

    port: 5672               # 端口(默认5672)

    username: guest          # 用户名

    password: guest          # 密码

    virtual-host: /          # 虚拟主机

    listener:

      simple:

        acknowledge-mode: auto      # 确认模式:none/auto/manual

        concurrency: 3              # 最小消费者数量

        max-concurrency: 10         # 最大消费者数量

        prefetch: 100               # 每个消费者未确认消息数
步骤三:收发消息
1、创建生产者
package com.example.rabbitmqdemo;

import org.slf4j.Logger;

import org.slf4j.LoggerFactory;

import org.springframework.amqp.rabbit.core.RabbitTemplate;

import org.springframework.beans.factory.annotation.Autowired;

import org.springframework.stereotype.Component;

@Component

public class Producer {

    private static final Logger log = LoggerFactory.getLogger(Producer.class);

    @Autowired

    private RabbitTemplate rabbitTemplate;

    public void produce(String message) {

        log.info("生产消息:" + message);

        rabbitTemplate.convertAndSend("queue1", message);

    }

}
2、创建消费者
package com.example.rabbitmqdemo;

import org.slf4j.Logger;

import org.slf4j.LoggerFactory;

import org.springframework.amqp.rabbit.annotation.Queue;

import org.springframework.amqp.rabbit.annotation.RabbitHandler;

import org.springframework.amqp.rabbit.annotation.RabbitListener;

import org.springframework.stereotype.Component;

@Component

public class Consumer {

    private static final Logger log = LoggerFactory.getLogger(Consumer.class);

    @RabbitHandler

    @RabbitListener(queuesToDeclare = @Queue("queue1"))

    public void process(String message) {

        log.info("消费消息:" + message);

    }

}
3、创建Controller
package com.example.rabbitmqdemo;

import org.springframework.beans.factory.annotation.Autowired;

import org.springframework.web.bind.annotation.GetMapping;

import org.springframework.web.bind.annotation.RequestParam;

import org.springframework.web.bind.annotation.RestController;

@RestController

public class RabbitMqController {

    @Autowired

    private Producer producer;

    @GetMapping("/send")

    public String send(@RequestParam String msg) {//http://localhost:8080/send?msg=hello

        producer.produce(msg);

        return "消息已发送: " + msg;

    }

}
步骤四:运行
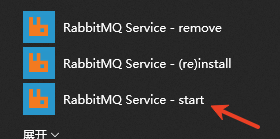
1、运行RabbitMQ。在系统开始菜单,找到RabbitMQ Service – start,并点击。
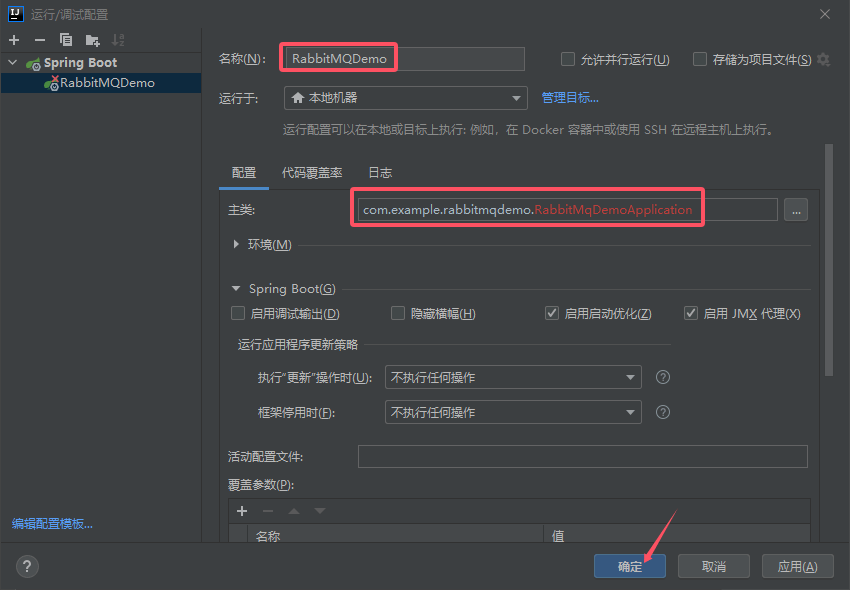
2、运行项目。第一次需添加配置,选择Spring Boot。

设置名称和主类。
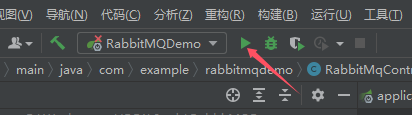
点击运行按钮运行项目。
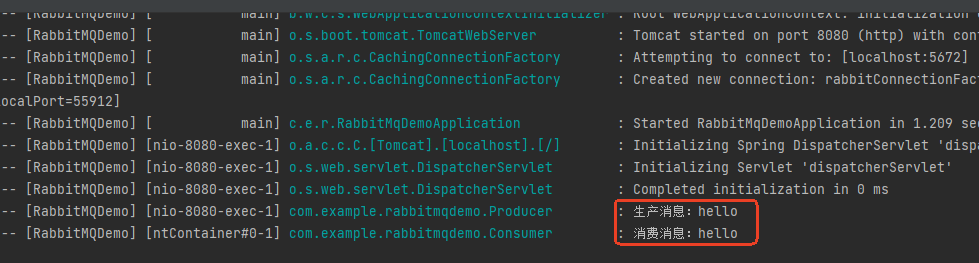
3、在浏览器中输入测试URL。
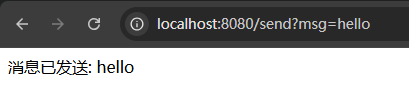
在控制台日志可以看到生产者和消费者打印的日志。